(very much WIP)
Sections
- Introduction
- TriggerEvents
- Chorded action
- Combine Tap and Hold actions
- Make a combo
- Closing
- What’s next?
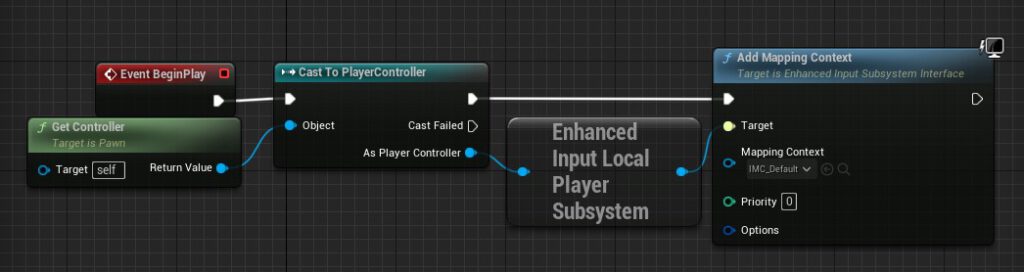
Introduction
In the last post we looked at the main building blocks of the EIS and how they fit together. This time we will take a closer look at the TriggerEvents. We will finish it with 2 examples that will showcase the chorded action – an action that fires when 2 buttons are pressed – as well as a setup where the executed action depends on if you tap a key quickly or hold it for some time.
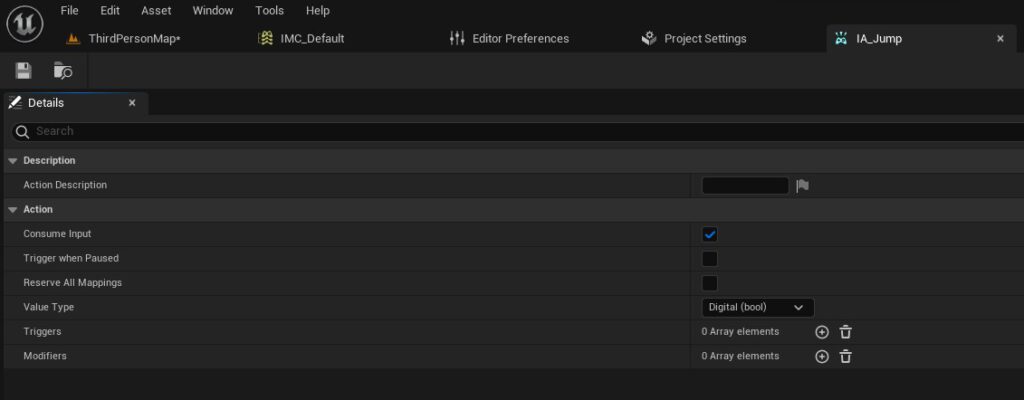
TriggerEvents
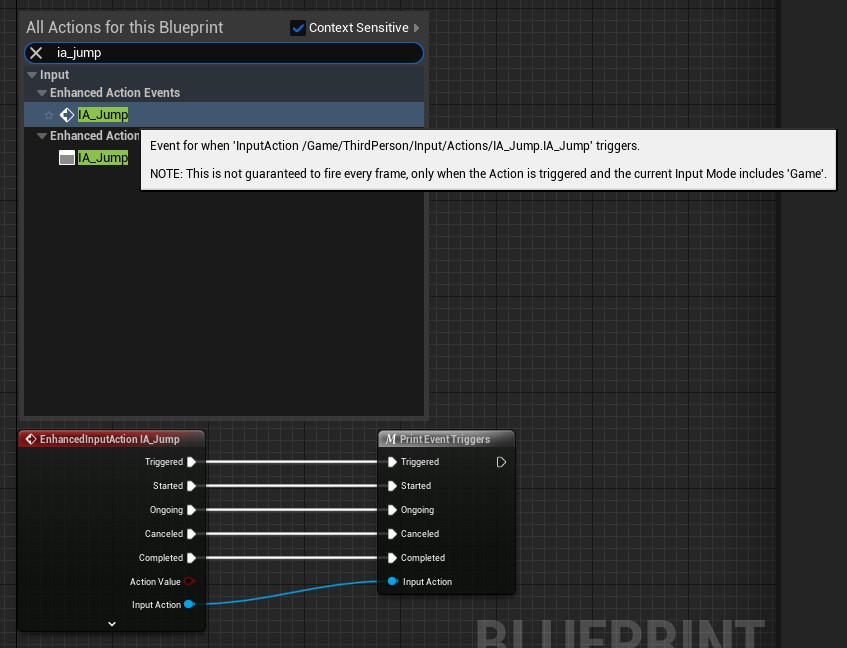
There are 5 TriggerEvents
- Started: key was pressed and triggers start being evaluated
- Ongoing: triggers still being evaluated
- Triggered: a trigger was successful
- Cancelled: a chorded-action or all other actions was unsuccessful *
- Completed: one/all triggers were successful *
* this depends on the combination of triggers and their TriggerType (Explicit / Implicit)
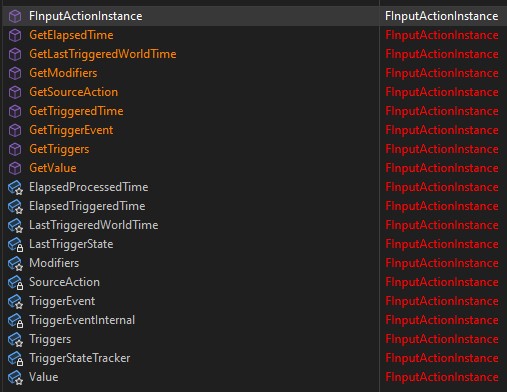
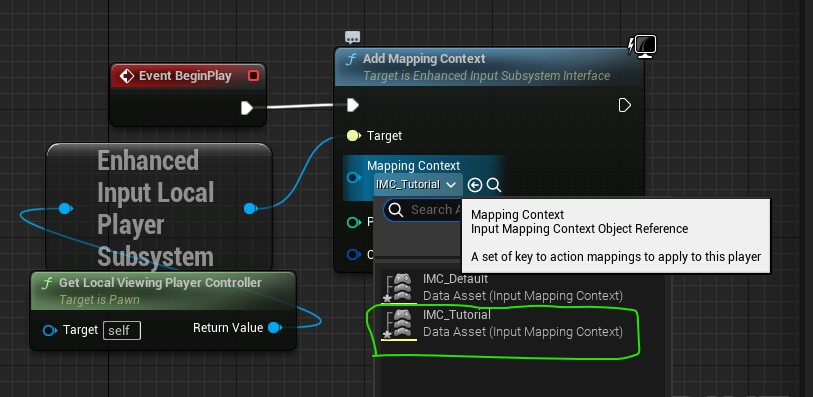
Looking at this the first time is a little confusing and you’ll understand it much faster if you play around with some setups. You can use the showdebug enhancedinput. I find it’s an overkill for now and would recommend using a macro. You can just copy&paste this macro in your character BP and connect it accordingly to your InputAction.
The official documentation mentions TriggerTypes. All you have to know for now is that, except Chorded Action, they are Explicit (we will look at them when we implement custom TriggerTypes in CPP). Which means that it would be enough if one Trigger fires to transition into Completed.
For example: You have a Down & Hold trigger on your action.
You press the assigned key but don’t hold it for the necessary 1s.
You will still end up at Completed because the Down event was triggered.
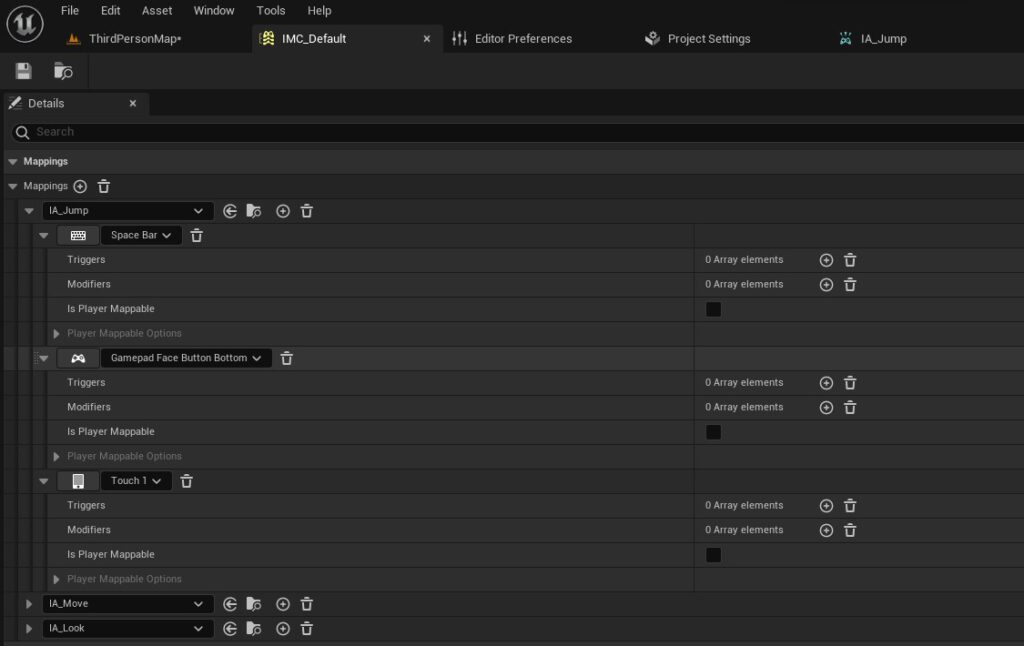
**Sidenote: Triggers of AIs and IMCs will be combined
Chorded Action
Chorded Actions are for IAs that should only trigger if another IA is currently triggering.
For example: So let’s say you want a simple attack but also a strong attack if you hold the SHIFT key. You can setup an IA_SHIFT where you set the trigger to be Down and an IA_StrongAttack where you set the trigger to be a Chorded Action and select IA_SHIFT as the Chord Action.
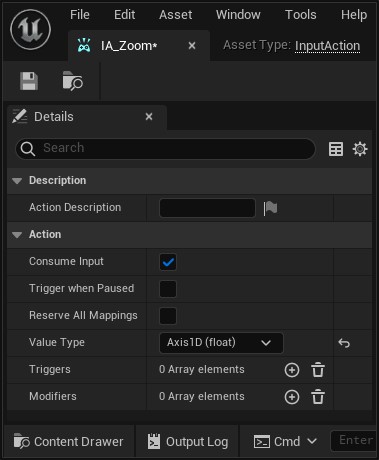
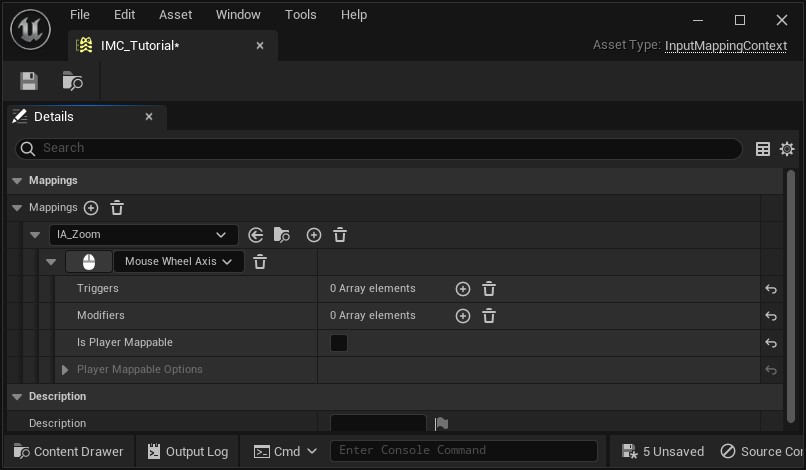
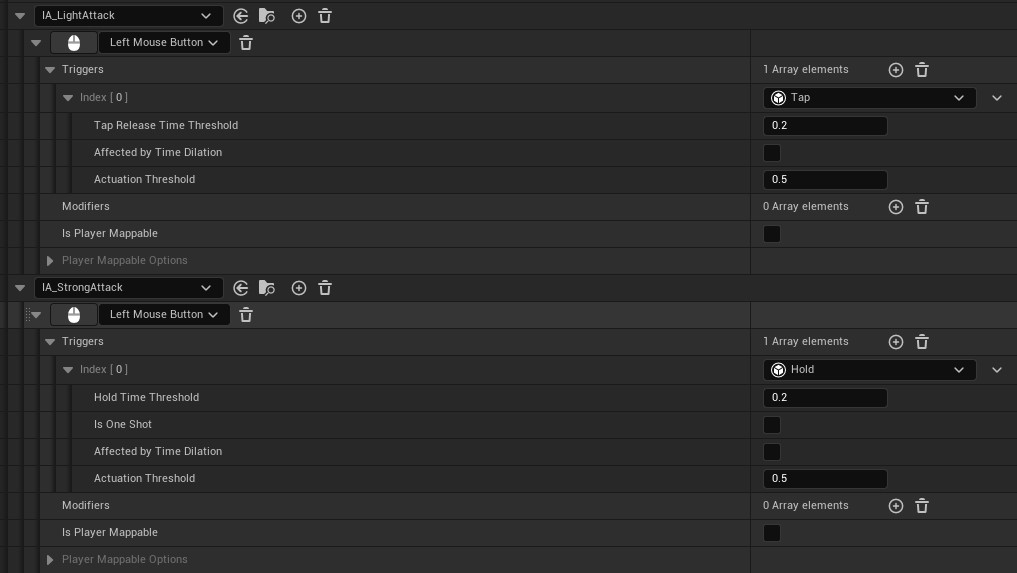
Combine Tap and Hold actions
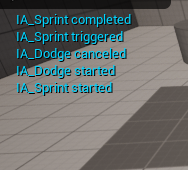
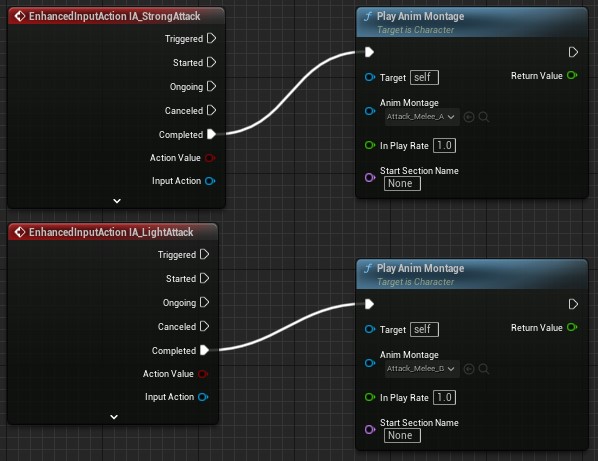
Let’s look at the setup for a a light attack with a Tap and a strong attack with Hold.
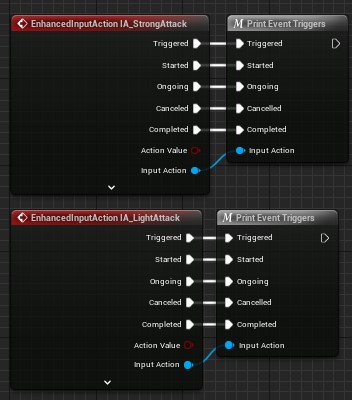
We have two things that we want to happen, so we need 2 IAs to execute different logic.
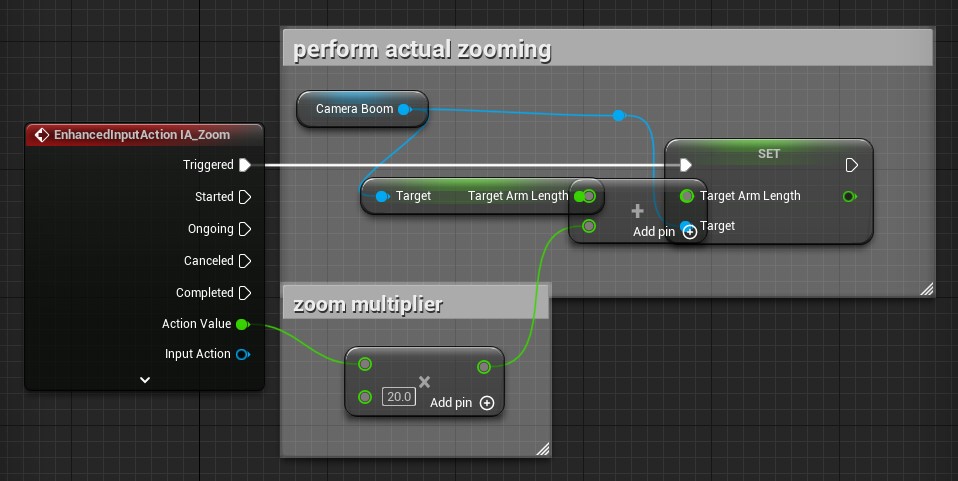
Now you have to assign your logic. On theSome simple logic that will make it easier to understand and print the TriggerEvents for both IAs, or AnimationMontage or do something advanced and activate your GAS ability.
Make a combo
Another TriggerEvent is the Combo which, as you might have guessed already, will allow you to specify a chain of InputActions. For now it you can’t specify a time frame to enter the key but only a maximum time that will be given in order to trigger the action
Closing
not sure where I should include modifiers. in the previous this one or the next one?
What’s next?
For my personal project UI has priority right now and therefor updates for the EIS series are on ice for now